Growing ranunculus from seeds can be a rewarding endeavor, yielding stunning blooms that add vibrancy to any garden. However, many novice gardeners encounter pitfalls that can stifle their success. Understanding these common mistakes and learning how to avoid them can make the difference between a flourishing garden and a disappointing venture. This article delves into the essential considerations and strategies for successfully growing ranunculus from seeds.
Understanding Ranunculus: The Basics

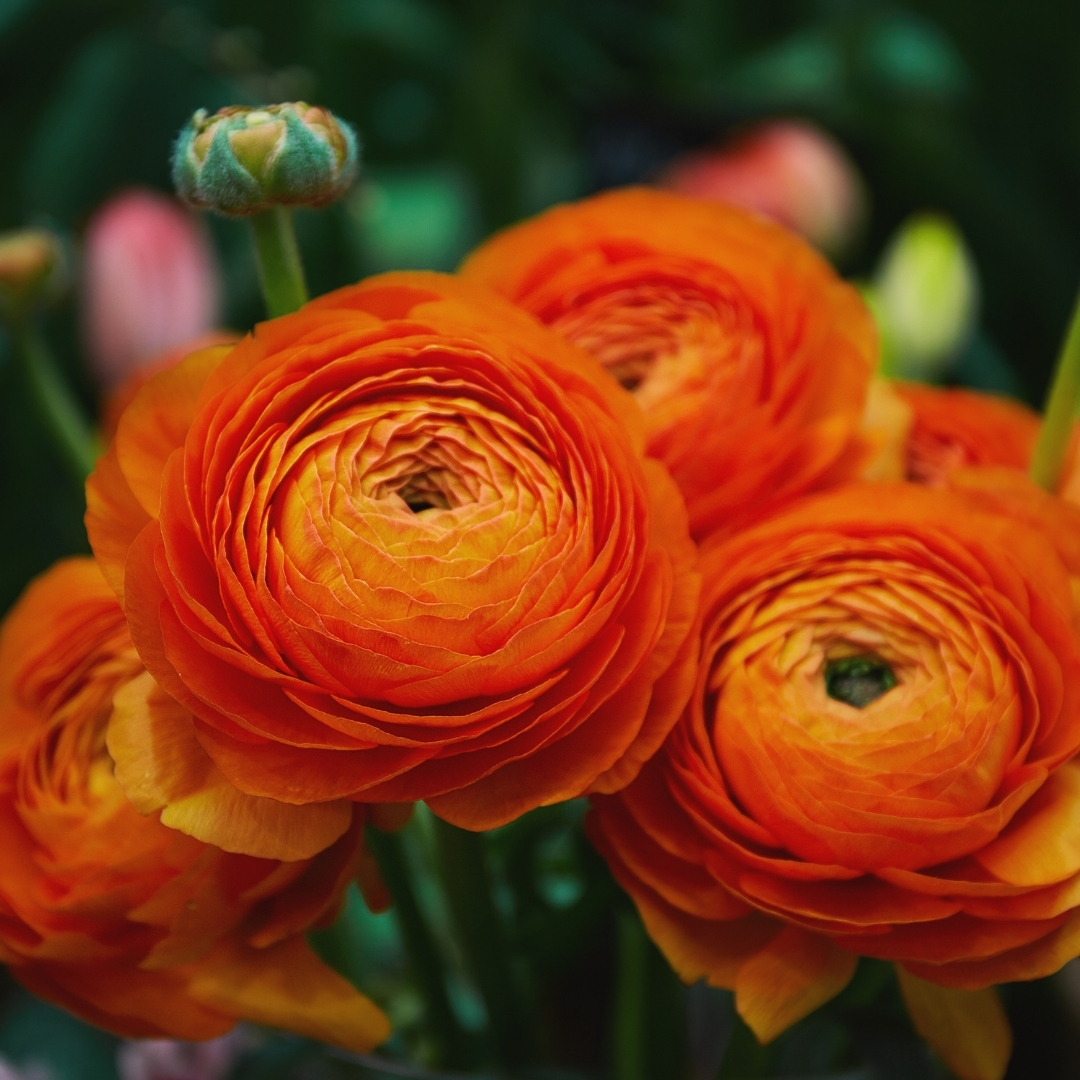
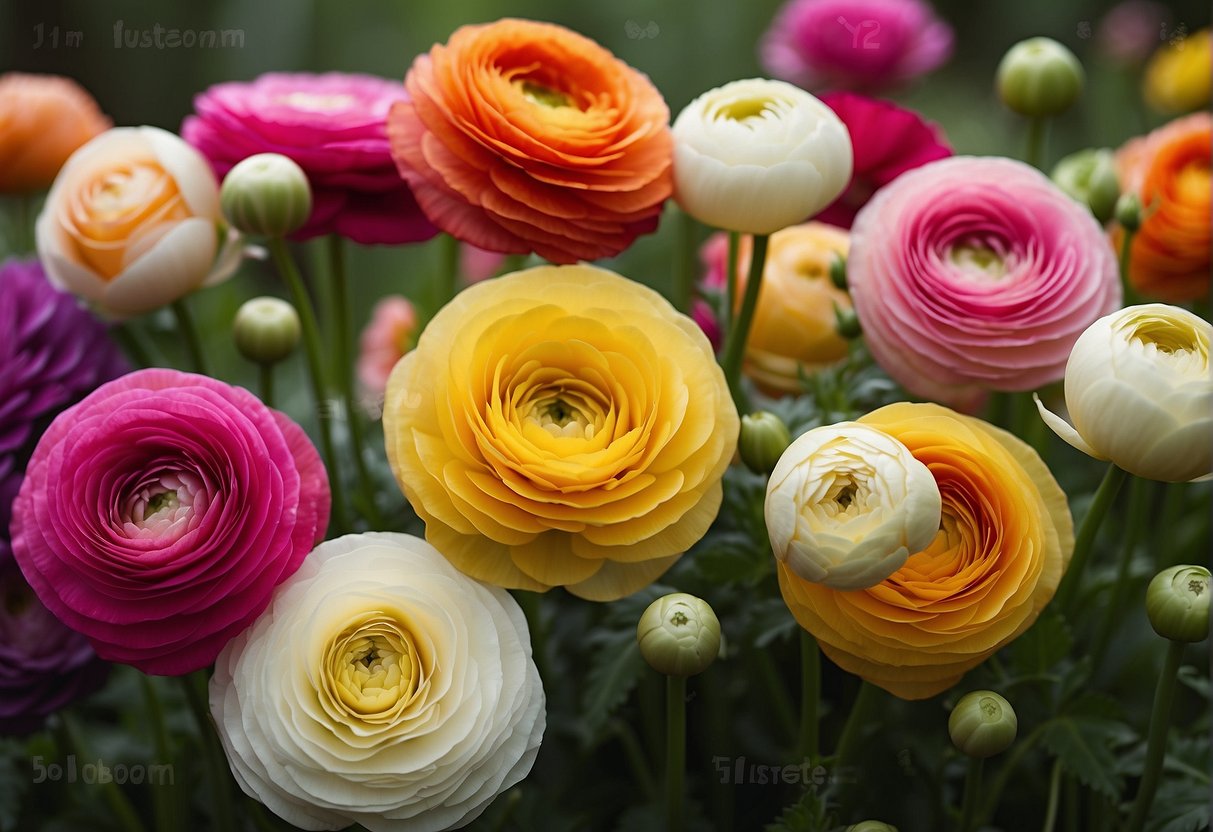
Ranunculus, commonly known as buttercups, are prized for their showy, layered petals and rich colors. They are native to Asia and Europe and belong to the Ranunculaceae family. While ranunculus is often grown as a bulb, seeds offer a viable alternative for gardeners looking to propagate these beautiful flowers from scratch.
Preparing to Grow: Key Considerations
Before diving into the common mistakes, it’s essential to understand the conditions that ranunculus seeds require for optimal growth. Consider the following factors:
- Soil Type: Well-draining soil is crucial. A mixture of potting soil, compost, and perlite works well.
- Sunlight: Ranunculus thrives in full sun but can tolerate partial shade. Aim for at least six hours of sunlight daily.
- Temperature: Ideal germination occurs between 60°F and 70°F (15°C to 21°C).
Common Mistakes to Avoid
1. Ignoring Seed Quality

One of the most significant missteps is using low-quality seeds. Poor-quality seeds may have low germination rates or may not germinate at all. It’s essential to source seeds from reputable suppliers. Look for:
- Seeds with a clear expiration date.
- Seeds that are specific to the ranunculus variety you wish to grow.
- Seeds that come with a germination guarantee.
2. Incorrect Planting Depth and Spacing

Another common error is improper planting depth and spacing. Ranunculus seeds should be sown at a depth of about 1/4 to 1/2 inch. Additionally, overcrowding can lead to competition for nutrients and light. Follow these guidelines for optimal spacing:
- Space seeds about 6 to 12 inches apart.
- For pots, use containers that are at least 12 inches in diameter.
3. Inadequate Watering Practices
:max_bytes(150000):strip_icc()/GettyImages-955255730-22a01f28c3944d52aba31d895e519605.jpg)
Watering is a critical aspect of growing ranunculus from seeds. Overwatering can lead to root rot, while underwatering can cause stress and hinder growth. Here are some best practices:
- Water the soil thoroughly after planting, ensuring it is moist but not soggy.
- Monitor soil moisture regularly, especially in the early stages of germination.
- Use a spray bottle for gentle watering to avoid displacing seeds.
4. Neglecting Temperature Control
Ranunculus seeds require specific temperature conditions for germination. Failing to maintain the right temperature can result in poor germination rates. Be aware of the following:
- If starting indoors, use a heat mat to maintain optimal temperatures.
- Avoid placing seeds in drafty areas that experience temperature fluctuations.
5. Failing to Provide Adequate Light

Once the seeds germinate, providing sufficient light is crucial for healthy growth. Insufficient light can lead to leggy, weak plants. Consider these tips:
- Use grow lights if natural sunlight is limited.
- Position seedlings under lights for 12 to 16 hours a day.
- Rotate pots regularly to ensure even exposure to light.
6. Skipping Fertilization
Ranunculus plants benefit from fertilization, especially during the growing season. Neglecting to feed them can lead to stunted growth and fewer blooms. Here’s how to fertilize effectively:
- Use a balanced, water-soluble fertilizer every 4-6 weeks.
- Begin fertilization after the first set of true leaves appears.
- Follow the manufacturer’s instructions to avoid over-fertilizing, which can harm the plants.
7. Ignoring Pest Management
Pests can be detrimental to young ranunculus plants. Common pests include aphids, spider mites, and whiteflies. To manage pests effectively:
- Regularly inspect plants for signs of infestation.
- Use organic insecticidal soap or neem oil for treatment.
- Encourage beneficial insects like ladybugs to control pest populations.
8. Overlooking Hardening Off
If you start your ranunculus seeds indoors, skipping the hardening-off process can shock the plants when transitioning outdoors. To properly harden off:
- Gradually expose seedlings to outdoor conditions over a week.
- Start with a few hours in a sheltered location and gradually increase exposure to sunlight and wind.
9. Planting at the Wrong Time
Timing is crucial when growing ranunculus from seeds. Planting too early or too late can significantly impact growth. Consider the following:
- In cooler climates, sow seeds indoors 6-8 weeks before the last frost date.
- In warmer areas, direct sow seeds in the garden after the last frost.
10. Neglecting Maintenance After Planting

Even after successful germination, ongoing care is vital. Neglecting maintenance can lead to a decline in plant health. Ensure to:
- Regularly check for weeds that compete for nutrients.
- Monitor for diseases and treat promptly.
- Deadhead spent blooms to encourage further flowering.
Growing ranunculus from seeds can be a fulfilling and visually rewarding project if approached correctly. By avoiding common mistakes such as neglecting seed quality, improper watering, and insufficient light, gardeners can significantly enhance their chances of success. Remember to pay attention to planting depth, spacing, and ongoing care to create a thriving garden filled with beautiful blooms. With the right knowledge and practices, your ranunculus seeds can flourish, bringing joy and color to your outdoor space.